The icon that looks like a film strip is in the middle of the Switches column below. It is right after the fx icon (for turning all effects (if there are any) on or off for a layer). It is just to the left of the switch for enabling Motion Blur for the layer. 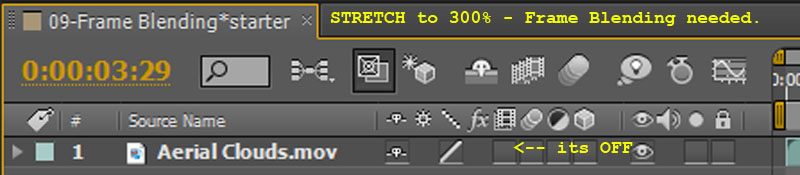
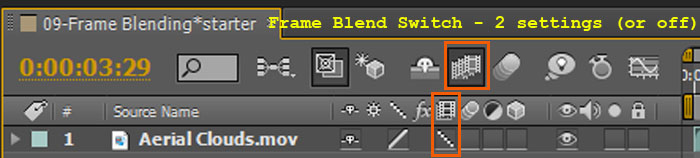
"Normal frame blending creates visible ghosting along sharp edges as it crossfades between layers.""Stop the preview and press PageDown to step through the frames, and you will see echoes around sharp edges such as his jacket. Frame blending just mixes together adjacent frames; you ca obviously see this crossfading effect on sharp footage."
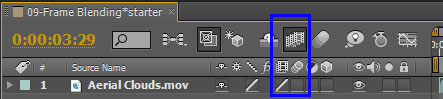
"This enhanced frame blending mode is known as Pixel Motion. The ghosts will disappear. Pixel Motion studies the movement of every pixel between frames and calculates here each pixel should be to create a new in-between frame at the requested time.""RAM Preview; it takes looooooooooooooooonger because Pixel Motion requires a lot of computing power."
"Clicking a layer's Frame Blend switch a second time changes it to a slash, which engages Pixel Motion. The creates brand new in-between frames, resulting in cleaner images."

For loopOut(), the last KF (KeyFrame) on the layer with the loopOut() expression must be BEFORE the very lat frame on the timeline. Why? Think about why it would make no sense otherwise.
Layer menu > Time > Enable Time Remapping command. What does it do?
How can you make time footage go in reverse using TIME REMAPPING? Suppose we wanted to have frame 91 to frame 150 play and then go in reverse playing frame 150, 149, 148, 147, ... to frame 93, 92, 91. How would you do that? Recall the milk example from page 187 of the textbook.
How can you speed up or slow down footage?
What is the best way to Insert a new KF (Keyframe) into a layers Time Remap property?
"In After Effects, you can keyframe almost anything - including time itself. The door to this world is Time Remapping. This parameter allows you to define which frame of a source should be playing at a specific frame of your comp. After Effects will the speed up or slow dow the footage as needed between keyframes to make this happen."